How to 3D Print Anime Figures with an FDM Printer
If you’ve got an FDM printer at home, you might be wondering — can it actually handle anime figures? The short answer is: yes, but there are a few things you’ll want to know before diving in.
Most people reach for a resin printer when it comes to figures — and that makes sense. Resin can capture super fine details, which is great for expressive faces, hair strands, or textured clothing. But not everyone wants to deal with resin’s mess, smell, or higher costs.
That’s where FDM printing comes in. While it’s not built for ultra-tiny details, it’s more than capable of printing larger anime figures or designs with bold, clean shapes.
The key is choosing the right model, setting it up properly, and knowing how to finish it off after printing. Let’s walk through that process step-by-step.

What to Prep Before You Start Printing
Before you hit "print," it’s worth gathering a few essentials. Having the right tools on hand makes the whole process smoother
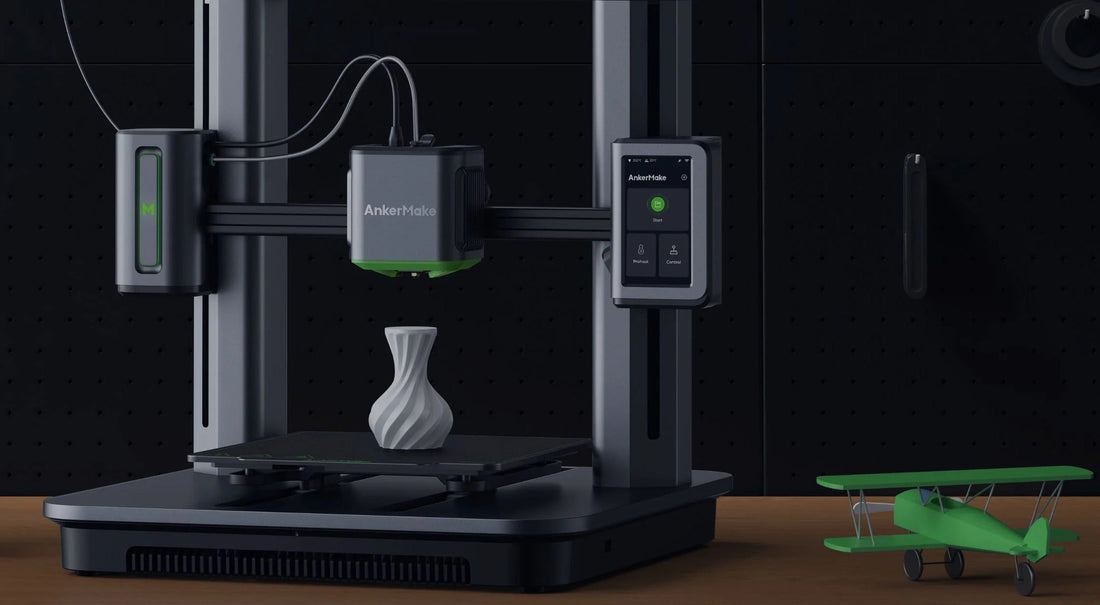
- 3D Printer: An FDM printer like the AnkerMake M5 is a great choice for its large build volume and reliability.
- Filament: PLA is easy to use and widely available, while PETG offers added strength and durability for intricate designs.
- Slicing Software: eufyMake Studio, Cura, or PrusaSlicer are excellent for preparing your files, offering features like organic support generation and print previews.
- Post-Processing Tools: Flexible sandpaper (150-400 grit), primer, acrylic paints, and fine brushes for finishing.
{{ component: "product", handle: "pla-filament", sku: "V6110221"}}
Step 1: Choose the Right 3D Model
Start with the right design—it makes everything else easier.
Not every anime figure is suitable for FDM printers, which build layer by layer from the bottom up.
Look for models that have bold, simplified shapes and solid limbs. Figures with too many thin parts—like individual hair strands, fingers, or flowing clothing—can break easily or come out messy.
Take, for example, the fan-made Pikachu-Snorlax cosplay figure. It’s a playful, chunky design with smooth curves and minimal delicate parts.
Many creators on platforms like Thingiverse, Printables, or Make it Real will label their models as “FDM-friendly” or include details like recommended scale, orientation, and support settings.
Tip: Larger models often print better. If your figure has tiny parts, scale it up just a bit for smoother results and easier handling.

Step 2: Prepare the File in a Slicer
Once you’ve found your figure, open it in a slicer like Cura or eufyMake Studio. This is where your digital model becomes something your printer understands.
Start by adjusting the orientation of the model. Try to minimize overhangs—parts of the model that would otherwise print in mid-air. For example, you might tilt the figure backward slightly so the facial details point up instead of down. This gives you cleaner facial features with fewer supports.
Next, set your layer height. For anime figures, smoothness is key. Use a fine resolution like 0.1mm or even 0.08mm if your printer can handle it. It will take longer to print, but the surface finish will be worth it.
As for infill, you don’t need to go overboard. A 15–20% infill using a grid or gyroid pattern offers enough internal support without wasting filament.
Step 3: Calibrate Your 3D Printer
Before you start printing, take a few minutes to make sure your printer is dialed in.
Check that your print bed is level. Even a small tilt can cause one side of your figure to have rough texture or fail entirely. Wipe the bed down with isopropyl alcohol (IPA) to ensure your first layer sticks well.
Set the correct nozzle temperature for your filament. PLA usually performs best around 200–210°C. Don’t forget to adjust bed temperature too—around 60°C for PLA is a safe starting point.
Print speed also matters. For detailed prints like anime figures, lower speeds give better results. Aim for 40–50 mm/s. Yes, it’s slower, but the increase in surface quality is noticeable.
Tips: Print a small test cube to confirm that everything’s working before committing to a multi-hour figure print.
Step 4: Post-Processing Your Print
Once your figure finishes printing, it’ll look close to the final product—but some cleanup is needed.
Start by removing supports carefully. Use flush cutters or a sharp hobby knife. Take your time—rushing here can snap off delicate parts. If there’s stubborn support stuck in tight spots, gently warm the area with a hairdryer to make the plastic more flexible.
After cleanup, sanding helps smooth out layer lines. Begin with a medium-grit sandpaper (like 220), then move to finer grits (400–600 or higher) to polish. Focus on visible areas like the face, chest, or outer clothing.
If you plan to paint your figure, apply a spray primer first. This helps paint stick evenly and highlights any surface flaws you might want to sand further. Use acrylic paints—they’re easy to blend and dry fast. For a clean anime-style finish, keep colors bold and flat, then seal your figure with a matte or satin clear coat to protect the paint.
Optional: You can also glue printed parts together if you printed in sections. Superglue works well on PLA.
That's it! You got a well-looking anime figure now.

Image: Chris Cardinal
So, How Much Will It Cost to Print an Anime Figure?
Let’s break it down quickly.
A decent FDM printer will run you somewhere between $200–$400. That might sound like a lot at first, but once you’ve got it, the ongoing costs are pretty low.
A spool of PLA costs about $20 and can last you several figures, especially if you’re printing them hollow or with moderate infill.
Then there’s the finishing stuff — things like sandpaper, primer, and paint. You don’t need anything fancy here either. Some flexible sandpaper (150–400 grit), basic acrylic paints, and a matte clear coat will do the job. You can pick all that up for around $30–$50.
In the end, once you're set up, each figure costs just a few bucks in material.
Wrap-Up
3D printing your own anime figure is a fun and rewarding DIY project—but it takes more than just hitting "print."
From picking the right model to dialing in your print settings and adding those final paint details, every step shapes how your figure turns out.
Take your time, enjoy the build, and make it yours. Happy printing!
FAQs
How long does it take to print an anime figure?
It really depends on the size and detail of your model. A small figure (around 10–15 cm) might take 8 to 12 hours, while larger or more detailed ones can easily stretch past 24 hours — especially if you're printing at a finer layer height for smoother surfaces. If your model needs supports or multiple parts, factor in even more time for printing and cleanup.
Are FDM-printed figures durable?
Yes! FDM prints, especially with PETG, are sturdy and perfect for display or handling.