How to Convert STL to G-code for 3D Printing Quickly and Easily
You've just downloaded an awesome 3D model - maybe it's a dragon, a phone case, or that tool holder you've been meaning to print. You load the STL file onto your printer, hit start… and nothing happens.
Why? Because your printer doesn't actually understand STL files.
So how do we make it understand? If you just want the shortest answer:
To convert stl file to gcode, you can open your STL in a slicer (like Cura or PrusaSlicer), pick your printer/profile, hit slice, and export the G-code. That's literally it.
If you want to understand what’s happening behind the scenes, why it sometimes fails, and other ways to convert STL to G-code, keep reading.

Is STL the Same as G-code?
A lot of people ask this when they start 3D printing, and the short answer is no. STL and G-code are two very different things.
What is an STL file?
An STL file is the most common format for 3D models. It describes the shape of your design using lots of tiny triangles. That's why you'll see .stl files on sites like Thingiverse or Printables.
But here's the catch: STL files don't store anything about your printer. No temperatures, no speeds, not even the units (sometimes they're in inches, sometimes in millimeters). So if you load an STL directly into your printer, nothing happens. The printer has no idea what to do with just "the shape."
What is G-code?
G-code is the language your printer actually understands. It's a text file full of instructions that look like "move here, heat to this temperature, extrude this much." Every line of G-code tells your printer exactly what to do.
In short, STL is a file format that describes the shape and geometry of a 3D model. On the other hand, G-code is the instruction file that tells the printer how to create that model layer by layer.
Why do we need to convert STL to G-code?
Here's where slicing comes in. To actually print something, you need to convert STL to G-code using a slicer. The slicer looks at your 3D model, cuts it into thin layers, and then writes out the instructions (G-code) your printer will follow.
Without this step, even the best-designed STL file is just stuck on your computer, looking pretty but never turning into a real object. Once you slice it into G-code, you've basically translated it into your printer's language.
How to Convert STL File to G-code Step by Step
Now that we understand the difference between STL and G-code, let's see how to convert STL to G-code using eufyMake Studio.
eufyMake Studio is the official desktop software designed for use with eufyMake's UV printer and 3D printers. It is available for both Windows and macOS.
If you're not using an eufyMake printer, don't worry. You can skip this part and jump straight to the Ultimaker Cura section later.
Step 1: Install and Open eufyMake Studio
You can download eufyMake Studio directly from the official eufyMake Studio page.
When you launch eufyMake Studio, you'll see the Make It Real dashboard. From here, you can explore community models or switch to the 3D Print Studio to start slicing.

Step 2: Enter Slice Mode
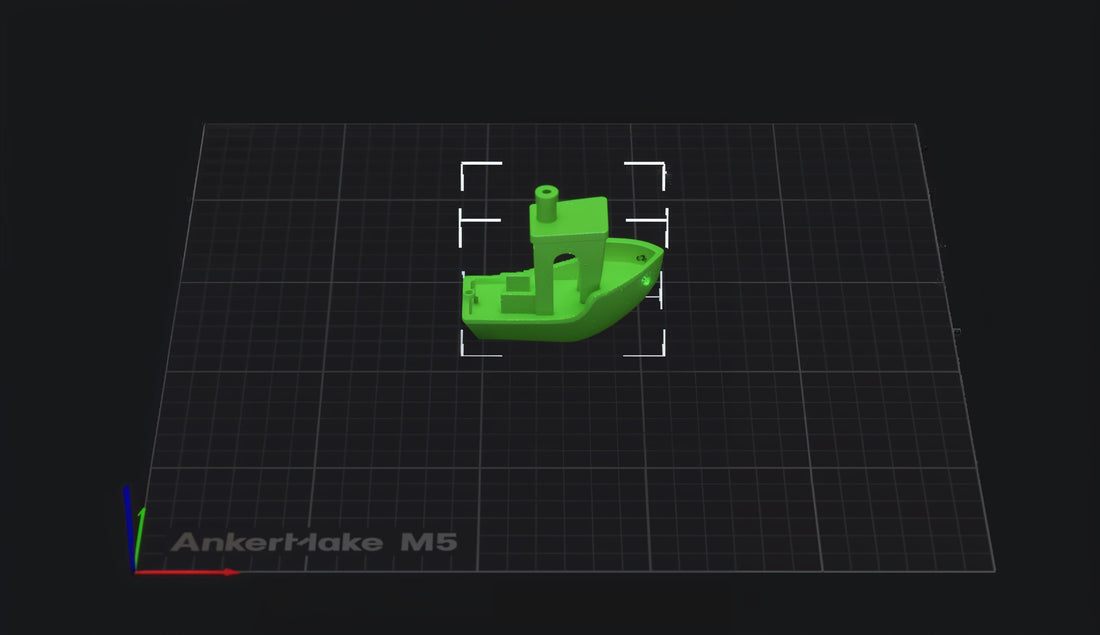
Click the Slice icon in the top bar to open the slicing workspace. This view shows the virtual build plate, where you'll load and prepare your models.
Step 3: Add Your Printer Profile
- Go to Printer Settings and add your eufyMake printer model (e.g., M5, M5C).
- All major printer settings (bed size, nozzle diameter, max print height) are preloaded, so you don't need to create a custom profile.
- If you own more than one eufyMake printer, you can switch between them easily in the profile menu.
Tip: Unlike other slicers, eufyMake Studio is already tuned for eufyMake hardware, so you don't need to configure technical details manually.
Step 4: Import Your STL File
- Drag and drop your STL file directly into eufyMake Studio, or use File > Open.
- The model will appear on the virtual build plate.
- You can reposition, rotate, or scale it using the on-screen tools.
Step 5: Configure Print Settings
This is where the slicer converts your STL file to G-code with the right instructions for your printer. eufyMake Studio makes this easier with presets like Fast, Normal, or Precision. If you want more control, you can open Expert Mode.
Here are some of the main things you can adjust:
| Setting group | What it does | Common choices | Image |
|---|---|---|---|
| Quality | Controls surface finish and level of detail |
|
|
| Strength | Affects durability and solidity of the model |
|
|
| Speed | Manages how fast the printer moves while extruding |
|
|
| Support | Ensures overhangs and bridges print successfully |
|
|
| Other | Special features and advanced controls |
|
|


Step 6: Slice and Check the Preview
Click the Slice button to generate your G-code file.
Once that's done, use the layer preview slider to carefully check a few important things.
- First Layer - Is it solid and properly touching the bed?
- Supports - Are they connected where needed?
- Infill - Is the pattern consistent and the density correct?
- Thin Walls - Do all features appear?
- Overhangs - Are they supported?
Pro Tip: Always check the preview before printing - it's the easiest way to catch mistakes before wasting filament.

Step 7: Export or print directly
When the preview looks correct, you can either save the G-code to an SD card or USB stick and plug it into your printer, or you can send it directly to your printer over Wi-Fi if supported.
In both cases, keep an eye on the first layer to confirm the print sticks well to the bed. That is usually where problems show up first.
How to Convert STL to G-code Using Ultimaker Cura
If you don't use eufyMake Studio, or you just want a free and widely-used option, Ultimaker Cura is a solid choice.
We use it on Windows, macOS, and Linux and it supports file types like STL, AMF, and X3D. Using Cura is a straightforward way to convert STL files to G-code for most 3D printers.
To smoothly convert an STL file to G-Code, follow these detailed guiding steps:
Step 1: Download and Install Ultimaker Cura
Visit the official Ultimaker Cura website and download the latest version compatible with your operating system (Mac OS, Windows, or Linux). Install the software on your computer.
Step 2: Configure Your 3D Printer
Open Ultimaker Cura and navigate to "Settings" in the top menu bar.
Click on "Add your printer" and select your printer model from the list. If your printer is not listed, choose "Custom FFF printer" and input your printer's specifications, such as bed size and nozzle width.
Step 3: Import the STL File
To import your STL file into Ultimaker Cura, you can click on "File" in the top menu, then select "Open File" to choose your STL file.
Alternatively, you can simply drag and drop the file from your desktop directly into the Cura "PREPARE" interface.

Step 4: Adjust Print Settings and Slice the Model
In the "Print settings" section, you'll find numerous parameters to adjust.
Start with the default values and make changes based on your specific requirements, such as layer height, scaling, and support structures.
If available, import the recommended material profile provided by your printer manufacturer (e.g., Anycubic) for optimal settings.
Once you've configured the settings, click the "Slice" button. Cura will process the STL file, slice it into layers, and generate the G-code file.
Step 5: Transfer the G-code File to Your 3D Printer
Save the generated G-code file to a storage device compatible with your 3D printer (e.g., SD card or USB drive).
Insert the storage device into your 3D printer, select the G-code file, and start the printing process.
Note: When you convert STL to G code, check your 3D printer file format and always use clean, optimized STL files to avoid complications during slicing and printing. Non-manifold edges, holes in the model, or incorrect printer settings can lead to poor print quality or even print failures.
Other Popular STL to G-Code Converters
In addition to Ultimaker Cura, there are several other popular STL to G-code converters available:
1. OrcaSlicer: The rising star. Newer on the scene but already making waves. Its interface is clean and modern, and it's built with the community in mind. Adaptive layer heights, smart supports, and fast slicing make it perfect if you want something that's both easy to use and powerful.

2. PrusaSlicer: The workhorse. Known for being rock-solid and reliable, it's a favorite among professionals. It comes with strong support tools, variable layer heights, and excellent print profiles, especially for Prusa printers-but it works great with other machines too.

3. IdeaMaker: Developed by Raise3D, IdeaMaker is a free slicing software that offers advanced features like adaptive layer heights and custom support structures. IdeaMaker is known for its user-friendly interface and powerful optimization algorithms that can highly reduce print times.
4. SelfCAD: An all-in-one 3D modeling and slicing software that's entirely browser-based. SelfCAD is particularly useful for beginners who want to design and slice their models in one place without installing any software.
Easy Ways to Convert STL to G-code Online for Free
If you want to convert STL to G-code online for free, two tools that can help are AnyConv and CNC-Apps.
These tools work directly in your browser and are great for quick, no-fuss conversions. They work on any device, whether it's a Windows PC, Mac, Linux, or even your phone.
Let's see how they work.
Convert STL to G-code online free with AnyConv
So here's the simple way:
- First, upload your STL file by dragging it into the box or clicking "Choose Files." AnyConv handles files up to 100 MB.
- Next, click the "Convert" button. The tool will turn your STL into G-code in just a few seconds.
- Finally, download your G-code file. The link is private and works only on your device, so it's secure and hassle-free.
If you just need a quick conversion, AnyConv actually works really well. No complicated settings, no software, just a fast way to get your G-code.
Convert STL to G-code online free with CNC-Apps
Now, if you want a bit more control, CNC-Apps is handy.
- Drag and drop your STL file or click "Upload." The max file size is 79 MB.
- Then, expand the settings to adjust printer type, filament, print speed, layer height, and supports. This actually lets you fine-tune your G-code a bit more.
- Click the conversion button to generate the G-code.
- Download the file and send it to your 3D printer to start printing.
It's great when you care about getting the print settings closer to your printer or material.
FAQs about How to Convert STL to G Code
Here are some commonly asked questions on how to convert STL to G code.
How do I convert STL to G-code?
To convert STL to G-code, simply import your STL file into slicer software, choose your printer and print settings, then slice the model to generate and save the G-code file ready for printing.
Can I Convert G-Code to STL?
Not really. G-code contains printer instructions, not the original 3D geometry. Some tools try to reconstruct an STL, but the results are usually inaccurate. It’s always best to work from the original STL file.
Can you use STL files for CNC?
STL files can be used for CNC, but they first need to be converted into G-code or another CNC-compatible format. The STL provides the 3D geometry, and the CAM software generates the toolpaths your CNC machine can follow.