How to 3D Print in Multiple Colors
If you've been following the 3D printing world this year, you've probably noticed the explosion of multicolor printing.
In the past, it often took a lot of manual work. You can 3D print in multiple colors by using simple techniques like pausing the print to change filament, or by painting your model by hand. Those methods still work great, but now there are new, automatic options.
More and more consumer 3D printer companies are jumping in, releasing dual extruder systems and tool changers.
This has made multicolor printing easier for everyone, and this guide will show you all the options, from the simple tricks to the latest tech.
Method 1: Manual Filament Swapping
If you're new to this and don't want to buy anything extra, this is the method for you. It works on pretty much any 3D printer you already have.
Think of it like this: you just pause the print and swap out the filament. It's that simple. You just have to be around when it's time to make the switch.
Step 1: Prepare Your Model for Color Changes
First, find a model from 3d prints websites that would look good with color changes between layers.
Something like a vase with different colored bands or a sign with colored text works great for beginners.
Open up your slicer program and look at the layer view. You want to identify exactly which layers should change color. Maybe layer 50 is where the base of your model ends and the main body begins, or layer 100 is where you want text to stand out in a different color.
Step 2: Set Pause Commands in the Slicer
Once you know where you want color changes, you need to tell your printer to stop at those points. Most slicers let you add what's called an M600 command (that's printer-speak for "pause and let me change the filament") at specific layers.
You don't need to be a coding expert-modern slicers make this pretty simple with built-in tools. Just select the layer and add a pause or filament change command. Make a note of which layers have pauses so you know what color to load when the printer stops.
Step 3: Change Filament and Resume Printing
When your printer reaches one of these pause points, it'll stop and usually move the nozzle away from your print. Now's your chance to swap filaments:
First, unload the current filament. Your printer screen will typically walk you through this. Then load up your new color and push some through until you see the new color coming out clean. When you're ready, tell the printer to continue, and it'll pick up right where it left off-but now in a new color!
This method is hands-on, but it's a great way to get familiar with multicolor printing without buying any new equipment.
Method 2: Split-Part Printing
This method is like building with colorful LEGOs. You print all the different colored parts separately, then you put them together at the end. This is a great way to get super clean lines between your colors. No mess, no fuss.
Step 1: Design Your Model in Separate Components
When you're designing your model, think of it as a kit. Each color should be its own separate piece.
For example, a character's shirt would be one part, and their pants would be another. It helps to add little pegs or slots so the parts fit together perfectly.
Step 2: Export and Slice Each Part Separately
Save each piece as its own file. Then, just print them one by one with the right color filament. It's just a bunch of simple, single-color prints.
Step 3: Assemble the Parts
Once everything is printed, it's puzzle time. Glue the parts together for a permanent model, or use snap-fit joints if you designed them that way. This method is perfect for things like logos or signs where you want sharp, clean colors.
For a fun project that uses this exact technique, check out our guide to building your own FrankenChunk.

Method 3: Post-Print Painting and UV Printing
Sometimes the best way to add color is after printing. Post-processing gives you unlimited color options and the most detail control.
This approach has gotten much more exciting in 2025, with UV printing becoming way more accessible and affordable for makers. Let's talk about both traditional painting and the newer UV printing options.
Step 1: Prepare the Surface
Whatever coloring method you choose, good surface prep makes all the difference. Clean your print thoroughly and remove any support structures. For a really professional finish, sand down the surface to minimize those visible layer lines.
Start with rougher sandpaper and work your way to finer grits. The smoother the surface, the better your paint job will look.
Step 2: Application of Paint or UV Printing
You've got two main choices here. You can hand paint it the old-fashioned way. Acrylic paints work great on most plastics, and you can add all the tiny details you want.
Or, you can try UV printing. This is a newer technology where a printer sprays ink directly on your model and uses a UV light to dry it instantly. It gives you amazing, crisp details every time. Just know that it works best on flatter surfaces.
{{ component: "product", handle: "eufymake-e1", sku: "BUNDLE-V8260J40-1-V7240010-1"}}
Step 3: Curing or Sealing
If you've painted your print, adding a clear coat helps protect your work. Options range from matte to glossy finishes depending on the look you're going for.
With UV printing, the inks cure immediately when exposed to UV light, creating a durable finish that adheres well to the print surface. Many modern UV printers include built-in curing systems to ensure optimal results.
This method gives you the most creative freedom with colors. You're not limited to what filaments are available-you can create any color, pattern, or gradient you can imagine.
Method 4: Rainbow or Gradient Filaments
Want amazing color changes with zero extra work? Then you need to try rainbow filament. This special filament has multiple colors blended together in one long strand. As your printer works, the color of your model slowly changes all by itself.
Step 1: Choose and Load Gradient Filament
Pick a rainbow filament you like and load it into your printer. That's it.
Step 2: Select Models That Enhance Vertical Color Changes
Select a model that is tall enough to show the color changes. Vases, towers and spiral designs work very well. Some slicers can give you a preview of where the colors may shift so you can place the model in the best spot.
Step 3: Print Without Interruption
Begin the print. The filament will change colors on its own as the print goes up. You cannot control the exact point of each color change. That surprise makes every print unique and gives you a natural gradient effect.

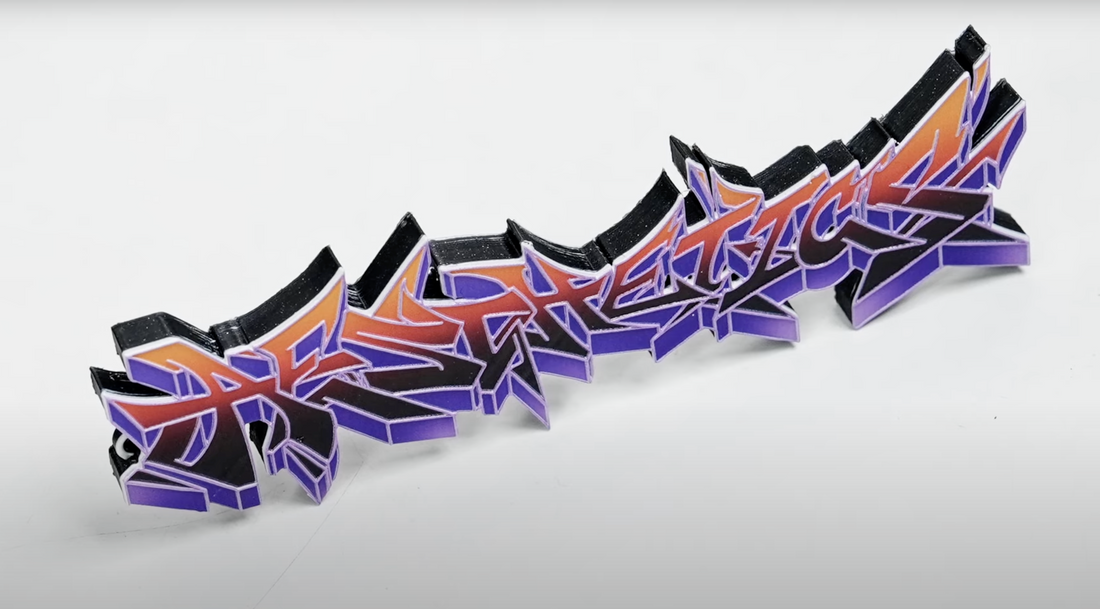
Image: Triple G Workshop
Method 5: Advanced Hardware Solutions
Multicolor 3D printing has gotten really exciting in 2025 because hardware solutions have improved a lot. These systems are more reliable, easier to set up, and let you print multiple colors with much less hassle than before.
If you want vibrant prints without spending hours swapping filaments manually, these are the systems to know.
Dual Extruders and IDEX Systems
Dual extruder printers are not new, but the latest IDEX (Independent Dual Extruder) models work very differently. Traditional dual extruders placed two nozzles next to each other. This design often caused oozing and alignment problems.
IDEX printers solve this by giving each extruder its own print head. When one head is in use, the other parks off to the side. This prevents colors from contaminating each other and keeps prints clean.
These printers also unlock new features. In duplication mode, you can print two identical objects at the same time. In mirror mode, the printer makes mirrored copies-perfect for symmetrical parts. With better calibration systems in 2025, IDEX printers are now much easier to set up and far more reliable.
Tool-Changing Systems
Tool-changing printers work like CNC machines. Instead of swapping cutting tools, the printer swaps entire print heads. Each color or material has its own dedicated head, which the printer can dock and replace automatically during a print.
This design allows you to mix different nozzles, filaments, or even materials in one project. Many systems now include smart chips in each print head. These chips help the printer control temperature and flow, ensuring precise results.
Tool changers reduce waste, keep colors separated, and handle complex jobs more efficiently. In 2025, prices have dropped enough that serious hobbyists and small businesses can afford this technology.
Hybrid Nozzle-Changing Systems
Hybrid systems use a lighter approach. Instead of swapping the whole print head, only the nozzle gets replaced. The nozzles connect magnetically and communicate wirelessly with the printer. Many also have built-in temperature sensors for better accuracy.
With each nozzle dedicated to a single color, there's no mixing, and switching happens much faster. This makes it possible to print in multiple colors without bulky hardware. The compact design keeps the machine smaller, reduces setup time, and still gives users the flexibility of multicolor printing.
These machines cost more, but if you do a lot of multicolor printing, they are worth every penny.
Why 3D Print in Multiple Colors?
Let's be honest, a single-color print can be a little boring. You spend all that time on a great 3D model, and then the final print just doesn't have that spark.
Colors change everything. They make characters come alive and help your work get noticed. If you sell your prints, you already know that colorful models get way more clicks than plain ones.
But it's not just about looks. Color can also be super practical. You can use different colors to show how parts of an assembly fit together. Teachers use color to make lessons easier to understand, and engineers use it to show how a machine works.
Here's one of the best parts: printing in color saves you so much finishing time. You don't have to spend hours with a tiny paintbrush. The printer does all that detailed work for you.
Which Multicolor Method Is Right for You?
So, with all these options, which one should you choose? Let's break it down.
- If you're on a budget or just curious, start with manual filament swapping. It costs nothing to try.
- If you need perfectly clean colors, like for a logo, use split-part printing.
- If you're artistic and want total control, go with post-processing. Painting or UV printing gives you endless possibilities.
- If you want something that looks amazing with zero effort, grab a spool of rainbow filament.
- And if you're serious about multicolor printing, it's time to invest in advanced hardware like an IDEX or tool changer.
The best news is that multicolor 3D printing is easier and more affordable than ever. No matter what you're making, there's a great way to bring it to life with color.
What colorful projects are you planning to tackle? We'd love to see what you create!